Unbox and power on
Watch the Japanese video from checking the contents to switching on the appliance.

Start here
These English instructions refer to original Japanese screenshots and videos. Initial device setup requires a monitor, keyboard and mouse, temporary internet access, and approximately one hour for OS setup and updates. After setup, local AI workloads can run on an isolated network. Confirm overseas warranty and support arrangements with sales.
Watch the Japanese video from checking the contents to switching on the appliance.
Configure language, keyboard, network and other basic settings step by step.
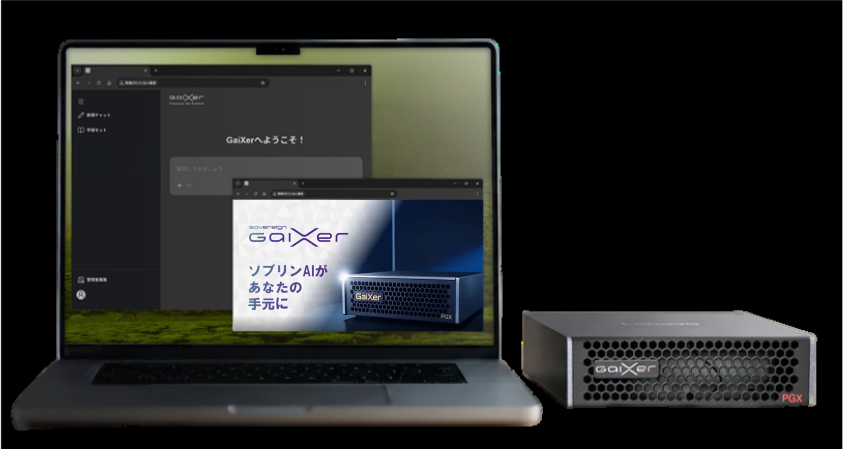
Access GaiXer and sign in with your supplied credentials.
Optional: add Mozc and switch to Japanese input using the illustrated steps.
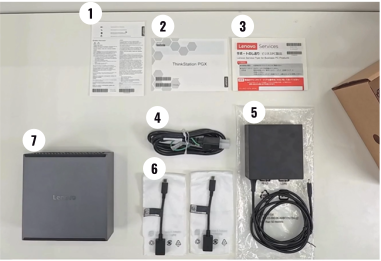
Contents
Unboxing
Watch the Japanese video to see unpacking, checking the contents, connecting cables and powering on.
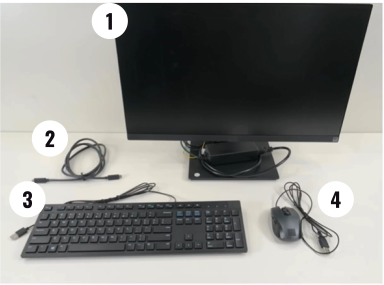
A separate monitor, keyboard and mouse are required for the illustrated initial device setup. These are distinct from browser-based client access after setup.
For equipment information, see Lenovo'sMonitor product page (Japanese)andKeyboard and mouse product page (Japanese). Confirm availability and compatibility in your region.